snails! yes indeed. escargot=snails. but they are delicious snails.
once you get past the thought that they are snails they are soooo tasty! also it doesn't hurt to throw some mushrooms on top to hide them!
you don't need much stuff and all the things you DO need are very inexpensive at the grocery store. it's definitely simple enough and looks and tastes super special for a dinner party or just for a nice snack!
here's a list of what you need:
-butter
-escargot (canned)
-escargot seasoning
-garlic
-mushrooms
-lemon
-cheese (optional)
-provolone (yes this is cheese too)
-salt and pepper
-don't forget escargot dishes (you can get nicer ones but mine appear courtesy of Dollarama!)

start by pulling off your mushroom stems. i used to cut them off until i realized that if you give them a good tug or kind of push them to the side with your thumb they come right out with a nice 'POP!' this also gives you a nice space to let the escargot sit. in regards to the stems you can chop chop chop them and throw them in the cook with the tops.


preheat your oven to broil and get out 2 pans. i just throw a big chunk of butter in each pan (one for the escargot and one for the mushrooms) and start with adding some garlic.

then add in your mushrooms and escargot. when you open the escargot can don't be phased by the smell or look. they smell not so hot and they look like you shouldn't eat them... but you should... you really should.


once you have them cooking (medium high heat) you can sprinkle a good amount of escargot seasoning (can be found in the grocery store right next to the cans of escargot (which is usually right by the tuna)).

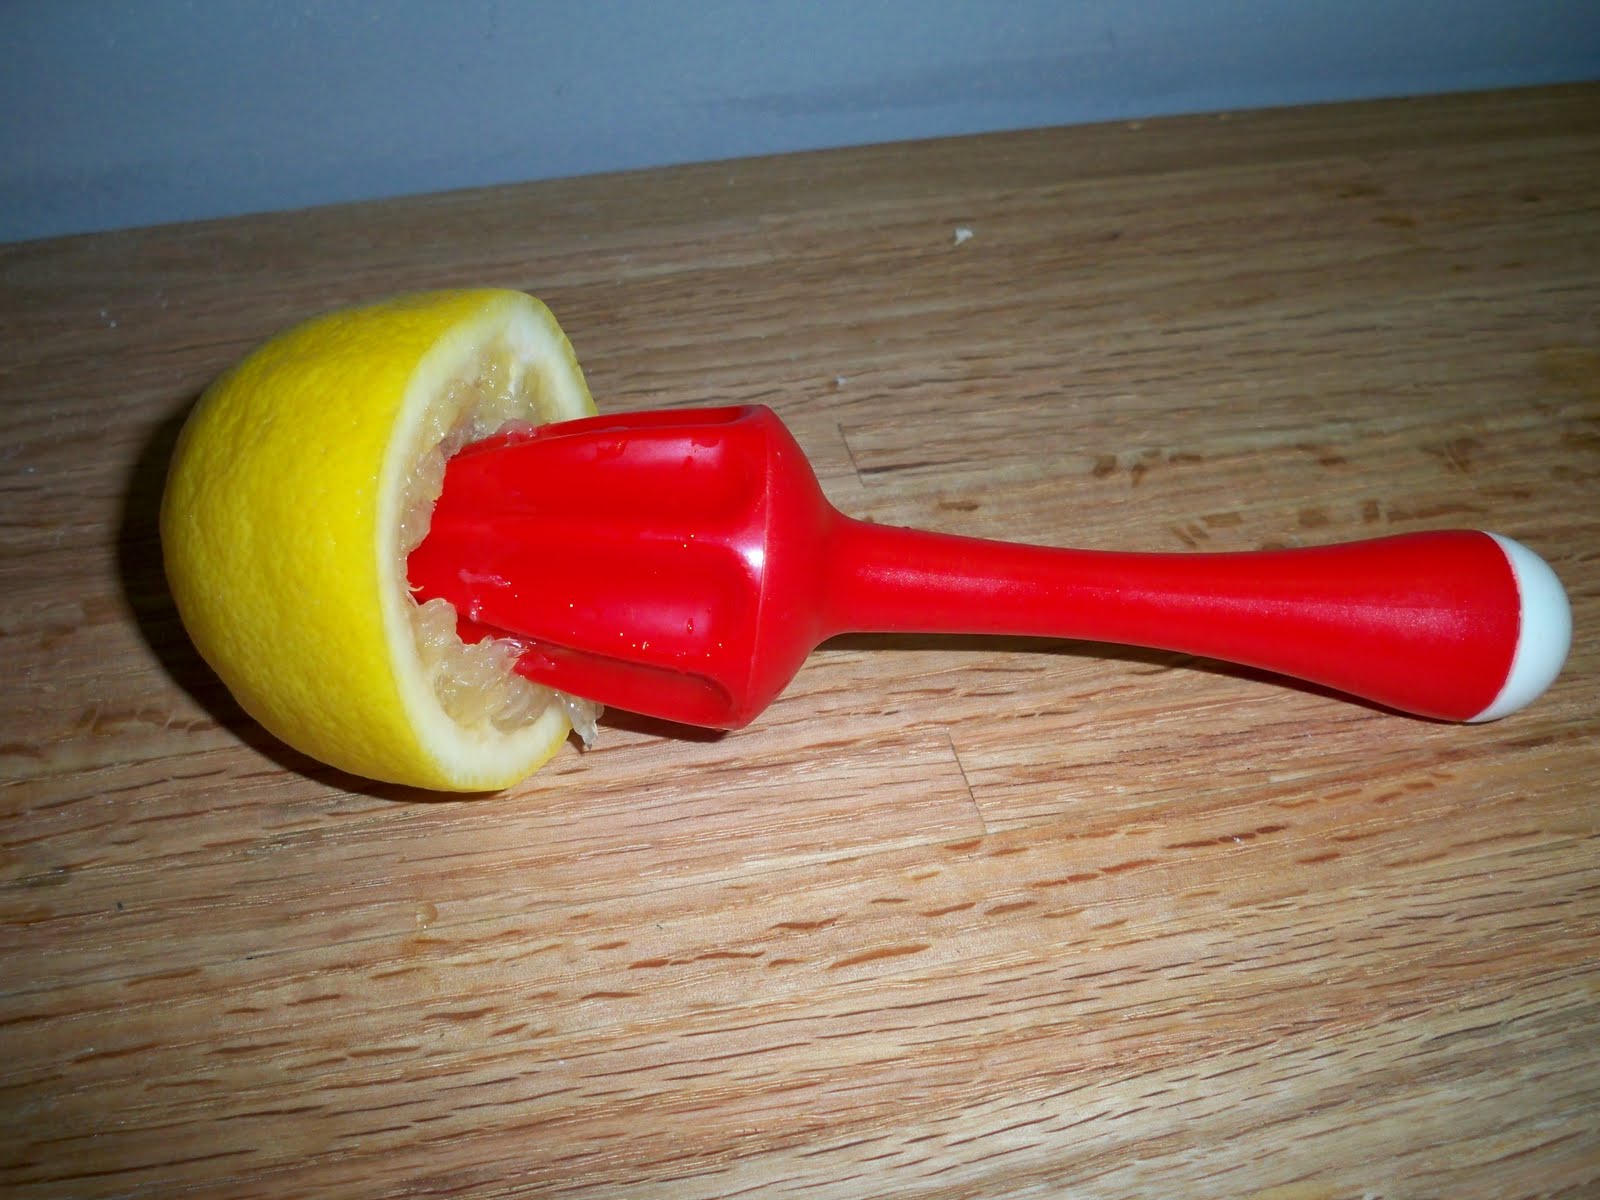
now, my dad taught me how to make this and it was kind of a 'watch him make it once and remember as much as i can' kind of thing, but the one thing i know i made up and added was the use of lemon. it gives the escargot a nice little kick and tastes great. i just cut a lemon in half and squeeze the juice right into the pan. careful of the seeds though!

also the more liquid (butter, lemon etc) you add, the more goodness you get to mop up with bread at the end! mushrooms release a lot of moisture when they cook and so does cheese so don't over flow your escargot dishes too too much with juice to leave a little room for the cheese juice. mmmm cheese juice.
now this next step is optional but my dad told me to shred a little cheese (he used mozzarella but i use marble cheddar because that's usually what we have in the fridge) in the bottoms of the craters of the dish. this just helps them to slide out easily... plus more cheese=always good.

now you can spoon your escargot onto your cheese and drizzle your melty lemon garlic butter over them...

then place your mushroom tops on them and scatter your chopped up mushroom stems with the rest of the juices...


now it's time to put that preheated oven to use. take a nice round slice of provolone and lay it on top of the whole dish...

putting the dishes on a baking sheet makes handling them A LOT easier so once you've done that toss them in the oven. really it will only take 5ish minutes. you just want to get a nice melt going on. some light browning never hurt anyone but if you're impatient, and want to get your eat on, as long as it's nicely melted you're all good. don't forget your oven mitts when you transfer from baking sheet to plate!
i like to serve my escargot with a nice baguette because there is so much delicious juice to soak up!

now here are my 3 attempts at exemplifying the super cheesiness...


i think this calls for a dinner party... anyone? bueller? anyone?


 it's ok guys... this one's safe.
 now the recipe is very simple in the fact that you just put everything into a big bowl and mix it all together. so this is all i really have to show you...


 then spoon those puppies into more tins and get them in the oven too.


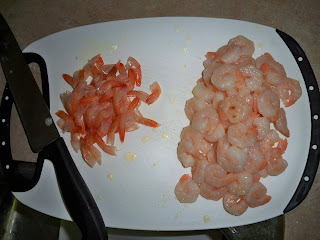
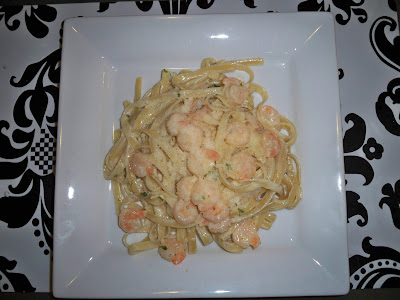
 so even though i got cooked shrimp, i decided to use it last minute so it was frozen. i put a bit of oil into a pan and tossed in a couple minced cloves of garlic. over medium/high heat, cook the garlic until it's lightly browned. then i toss in how much shrimp you wanted and put a lid on the pan to steam the shrimpies.
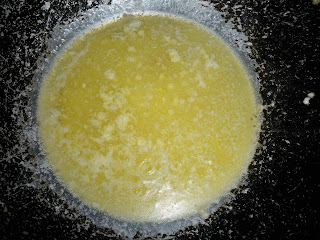 mmm melty butter. then after you let the garlic simmer a bit, add some heavy cream (i use one of those small cartons of whipping cream).
 my little rule of thumb is that your sauce is creamy enough if when you swish it around your wok it lightly coats the sides. voila.
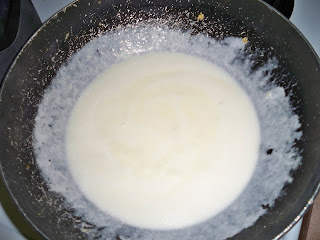 then you can throw in anything you want in there and season with salt and pepper.
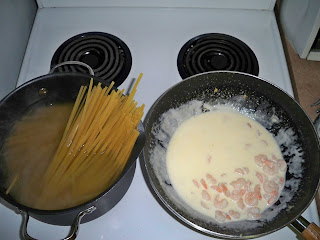
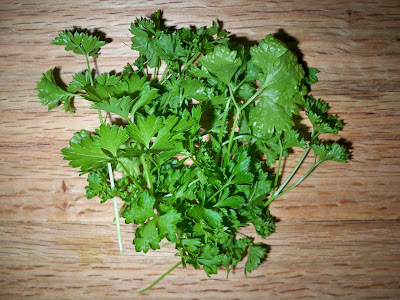 until recently, everytime it came to adding fresh herbs to anything, i went nuts. i don't have rock star knives (but oh boy do i want them) so i never seemed to be able to chop my parsley into a good size. then i was watching a cooking show and when i saw how the dude (anthony sedlak from the main) chopped his parsley i went "oohhhhhhhh". he kind of bunched his bunch together and made it into a ball, then chop chopped. this works much better.
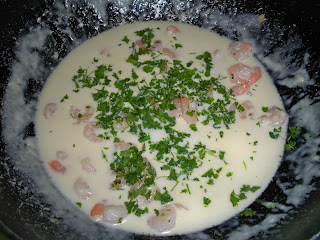
 when it's all nice and mixed together...
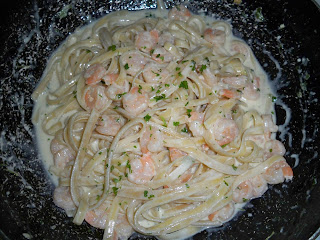


 break up the beef with a spatula and cook until it's all nice and brown. it will produce some liquidy grease so i just put the lid on the pan and dump most of it out. the cheese will melt funny if it's too soupy in there.
  then lower the heat right down and put your cheese over the meat to melt it. i usually take the pan off the heat to do this to give it some time to get to the lower heat since i am very exact with my cheese placement.
  cover the pan to get the cheese to really melt into the meat.
 mmm... cheesssyy beeeefff
 now for the buns. my clearly french canadian dad does it the best. he steams them. he has a metal colander and boils water and puts the buns in the colander. i have a plastic colander from the dollar store. so i wrap the buns in paper towel and microwave them for about 30 seconds. it's the closest thing i can get. then, scoop your beef onto your buns and top them as you please.
 sooo gooood.


 beat in the egg and vanilla. then mix in the dry with the wet in 2 parts.


 perfection.
 what a perfect looking cookie, if i do say so myself!